I have been on the prowl for an easy shirt to wear for nursing. Most of them come with a higher price tag and if I'm going to be covered in spit up and milk stains, I just don't want to invest in something expensive. So I looked online for DIY nursing shirts and didn't come out with much that I liked. I mean, I don't plan on wearing them out much, but I have to look "decent" if I do go out in one. So I grabbed a 4 pack of XL men's Hane's T-shirts and started draping on my size 12 dressform. Unfortunately for me, I am no longer a size 12, I am much larger due to my need to consume all the food I see, and having been pregnant about 4 months ago, it's just going to stay that way for.....hmn, eternity I guess.
I came up with a process to make a presentable t-shirt cheaply, that works as a nursing top.
You will need a t-shirt that's too big for you, a sewing maching (I used a serger) and scissors.
First start with your XL men's t-shirt. Or if you are a smaller person, a smaller shirt. But we will be taking in a bit so guesstimate. My measurements are:
Bust: 38"
Waist: 33"
Hips: 39"
When finished my shirt has a good 4" ease for comfort. I had made one tighter, but didn't like that you could see my doughboy tummy.
 |
| XL Men's T-shirt, nice and roomy |
 |
| I measured 3" down from the armpit seam |
 |
| Cut 3" down from armpit seam |
 |
| Cut down center front |
 |
| Fold over sides of cut center front and make a diagonal line |
 |
| Cut along the diagonal line and make a V |
 |
| Overlap the two center front corners |
|
|
 |
| My overlap was 8", you can try on the shirt and find the most comfortable overlap for yourself |
 |
| Pin your overlap |
 |
| Baste or serve the overlap only |
 |
| Keep the overlap pinned even after sewing-cut open the center back-straight down the middle |
 |
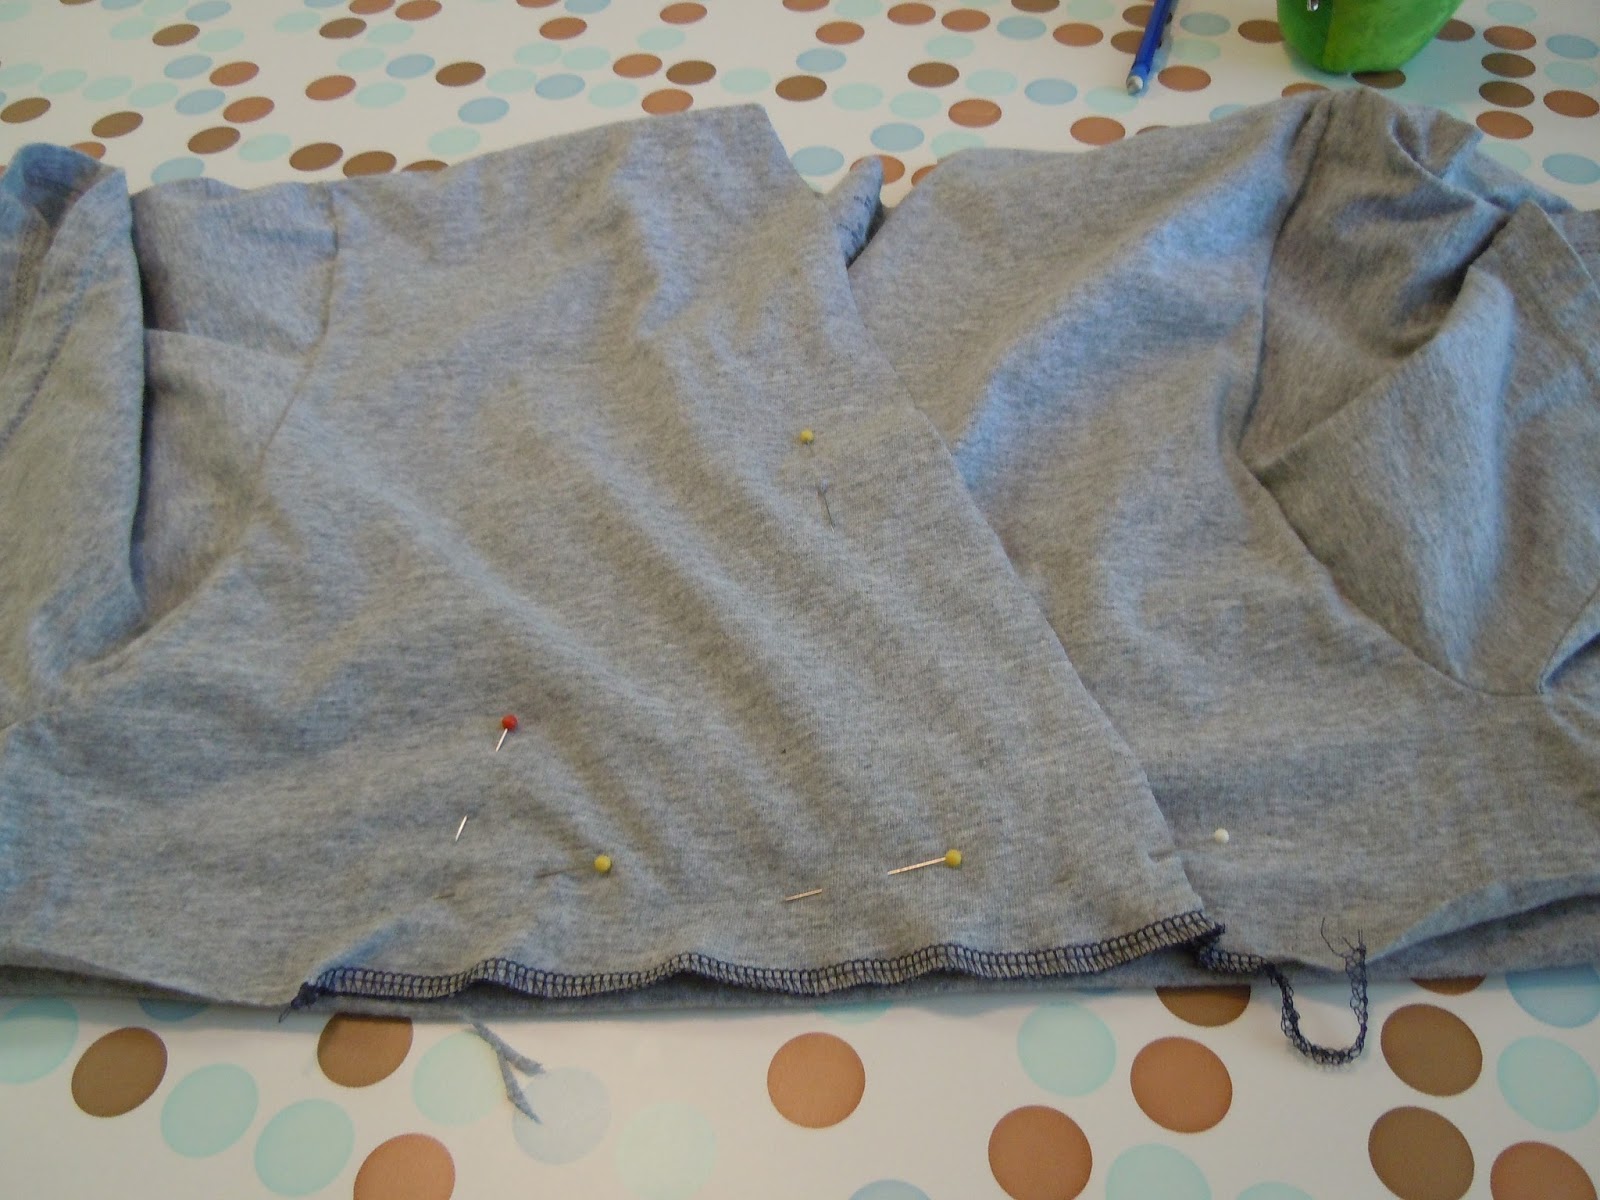
| Take the bottom half of the shirt and cut a straight line |
 |
| pin the top of the overlapped shirt, and the bottom |
 |
| Serge a straight line attaching the two pieces |
 |
| There will be extra fabric at the center back, you can cut it to match the center back top and then ease it to 0" for a A shape, or cut straight down for a fitted shape. |
 |
| Serge or sew the center back seam. Before you sew, try it on and pin the fit you want then mark. This is what the back should look like. |
 |
| This is the front of the shirt inside out, with my son, because he desperately wanted to be in the picture. |
 |
| This is the finished shirt, I took in a bit more ease for the picture, I wear mine larger than shown. No need to hem the neckline, it's a jersey so it just rolls nicely, and no frays. |
 |
| Pull one part to the side and easy nursing, just remember, this is a jersey fabric, it will stretch so the neckline will get looser each time you nurse until you wash it again. So if you want to reinforce it with an elastic that would help. |
Hope this works for anyone wanting an easy and cheap solution for a nursing Tshirt.
I'm wearing the one I made in the photo's right now.
Salut....


Love! Now I need to learn to sew.
ReplyDeleteLmfao! I was thinking the exact same thing !
DeleteWhy did you cut the back open? Was it just to make it more fitted?
ReplyDeleteHi Marla,
ReplyDeleteSorry for the delay. I cut the back open because I wanted a straight seam, and I was losing about 5 inches in the bust since I crossed them over to make the surplice. I could have cut open the sides and made it more fitted and taken out the 5 inches I lost in the bust, but I wanted to keep it simple with minimal measuring. The T-shirt had no side seams to work from so straight up the back seemed like a good idea.
Awesome tutorial! I'm making several today, nursing wear is so pricey, this is the perfect solution to expanding your nursing closet��
ReplyDeleteGood job dear, i would like to try it soon if i have xl shirt..i just buy my sewing machine and i looking around for more Tutorial nursing dress. Yes, indeed the nursing dress is so expensive even if the simple one..
ReplyDeleteSimply clever! Thanks for sharing!!
ReplyDeleteWould 3 inches down from armpit work on a 3x shirt or should I add a couple inches?
ReplyDeleteBeautiful step by step pictures! Thank you so much!
ReplyDeleteBeautiful step by step pictures! Thank you so much!
ReplyDelete