Recently I was asked to create a memorial quilt for a friend who's had a devastating loss in her family.
Her best friends gathered some of the deceased favorite clothes, jeans, shorts, and socks. He was known for his wild socks.
Finished it looked like this:
First I started on the socks. I didn't think they would work on the quilt, so I thought about making them into sock animals for her three boy's.
Here's the finished piece.
Next, Sock Bear.
I started working on cutting up the all the clothes into large pieces of rectangles and squares.
I left the octopus for last. I didn't really love the eyes on top so I resewed them
lower like a REAL octopus.
Dusty really liked it.
Working on making more blocks. Any flat surface works when you aren't around your project board.
Starting some more blocks.
I had finished most of my blocks. And started laying out the improvisational pattern. Essentially, just put some blocks together that look good, then add fabric till they fit to match the side to side measurement of the largest block in the strip.
The middle and right strips have been sewn from blocks into a strip. The left is my process, just make them fit the largest width you got.
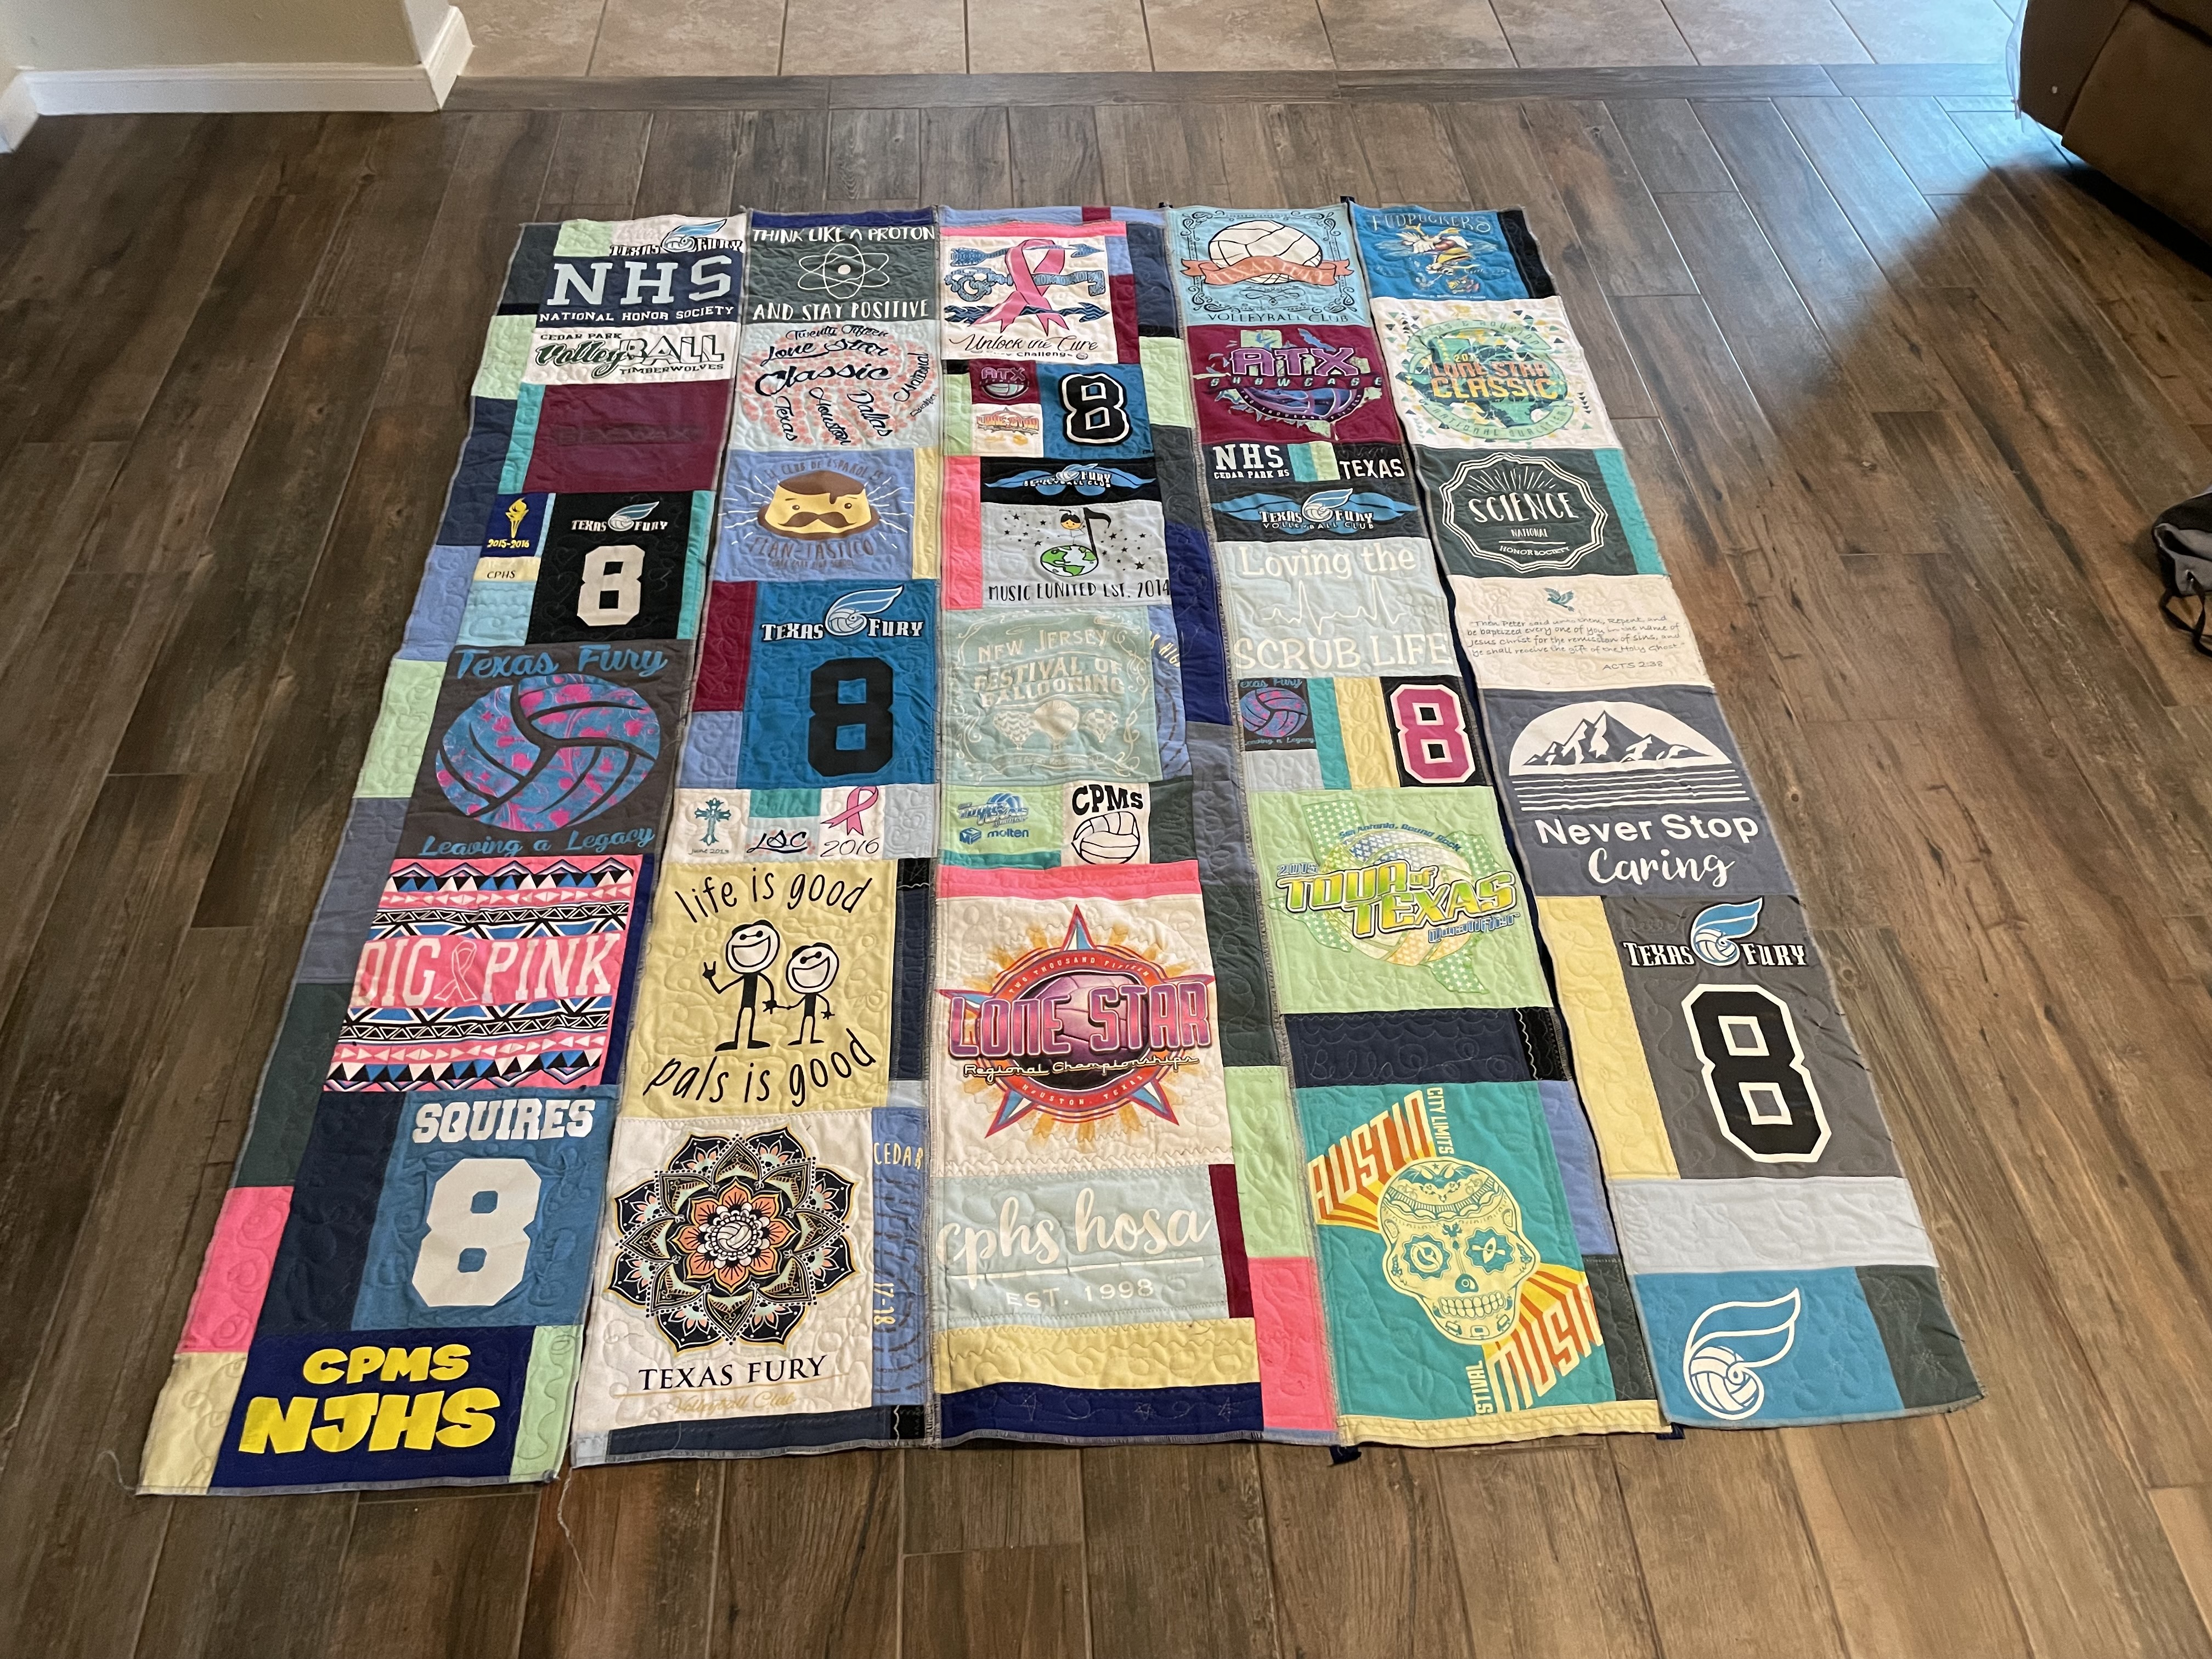
Finished quilt top.
Starting my quilt sandwich basting.
And now working on the free motion quilting.
He thinks he's helping.
I free-handed the names of the boys onto the quilt, as well as their surname.
After binding and a wash and dry. Here is the memorial quilt.
My tag.
The backing after washing, was nice and puckered. Love the texture.
The finished sock animals out of his socks.
I'm pleased of the way it turned out and my friend and her children really love it.
There's nothing better than having a satisfied quilt lover.
Sincerely, Ruth