Showing posts with label pinterest. Show all posts

Monday, January 2, 2017

Shelves

Hey there, I made some shelves. 


These were inspired by this bookshelf from Target. 


I had really wanted to have my books in my room. Rather than hidden in my office. But, alas, no bookshelves. So, on to Pinterest I go and I find an easy DIY Method.


It's a great step by step process. 

I didn't use her measurements, I wanted a larger size. But the rest of the instructions are very clear. I bought (8) 1"x12"x6' top choice pine board. At Lowes.
My final dimensions for this project was 4' tall, x 12" deep x 20" wide. I only had enough room for 20" so I wouldn't crowd the space, or knock my shoulders on them. 
I had gotten a better quality top board pine for this project. It has less knots and holes, and is less warped. I mean, it's still warped some. So you have to check out each board carefully to see how straight they are. I was sanding a lot to get a smoother surface. I had cut all the pieces and was starting to assemble them, but while a circular saw is great for rip cuts. It wasn't that great for precision. So everything would come out a/ 1/8" off. Even with a straight edge clamp!!! I had already screwed them all together and then pulled them apart after I realized so wobbly they were.  So, I begged my brother for the use of his mitre saw.

Ah yes. It's glorious. Reminds me of making canvas frames in College. Ah, that weird day where our Professor Wally Connelly taught us how to buy wood, (check for straightness) how to use a miter saw, and how to staple your canvas and then use Gesso. 

I also used a kreg jig to get pocket holes. That way the screws aren't visible.

I used some old bead-board for the backing. The picture above shows
how off balance my shelves were. 

So, I re-sawed all the wood to measure as exact as I could. I had to re-drill
a few pocket holes. But in the end, it worked out.

Yay!!!!

I had wanted a pop of color. So I chose an washed aqua stain.

Now, it came out much more intense than I expected. You can 
barely see the wood grain. So, I should have done only one coat. Or mixed it with paint thinner. But when I had done a test coat, the one coat wasn't enough. 
So, after doing two coats on the shelves, I noticed, wow, that is not at all like my test strips. Even after wiping the stain between coats. Go figure.  I followed up
with a coat of clear poly in satin finish.

Before my shelves. 

Yay, Book Shelves.

With actual books!!!!

It came out to $120 for materials. (not included the borrowed miter saw, and my kreg jig) The original was $118 a shelf. I made mine for $60 a shelf. Granted, I'm not including my labor. But that's the fun of DIY right? 
Till next time, Ruth

Sunday, September 18, 2016

DIY play oven

My Mother has an adorable playhouse in her backyard. The kids love to play there, in particular my daughter Goose. We had bought a play-kitchen to put in there. And it was great, however during a rainy may, we brought it from the playhouse for the kids to play on inside. It's stayed there forever since. I still loved the playhouse and wanted it to be perfect! Which is to say, I'm reliving my childhood through my kids. :)

I had found a really cool pin on Pinterest and thought, "Hey, I can do that!"
Which I always do, and I'm always wrong.

Here's the blog that posted an easy DIY play-kitchen.


I have some plastic drawers that were barely used. And thought, "I bet I can do that for cheap too!"   Spoiler alert, I was wrong.
I was going to buy the cricut vinyl she had used, even with no cricut but thought  maybe I could find something around the house. See, the thing is, paint wont work well on this plastic. And it was going in the playhouse, which in Texas, is almost always very hot. So, It needed to be sturdy, and not fall off, or flake in the heat.

I found some old plastic folders in my office. I started to cut out shapes and I thought superglue would work to stick them on.


My original idea for the drawers.
In process. I had some leftover wood knobs from a piece of furniture. Some leftover pieces of wood. And an old springform pan I never used. 

Cutting out some pieces.

Layout of idea.

Gluing.
Well, after waiting for both craft glue, super glue and others to see if they would work. I noticed that none of them did. I needed a glue specifically for plastic. The very slick kind of PVC plastic. Which no matter where I went; Home depot, walmart, Joann, was never there. I found some epoxy for plastic, that had a horrible beige color. And said, Nope. So I thought, hell, I guess I do have to spend some cash. I went to Joann's to get some of the cricut vinyl. It was only $6.99 a roll. So $14.00 ain't bad. But then I saw duck tape. They had 8"x11" sheets of it. And a slew of rolls of colors. The sheets were $1.99-$2.99 a piece, I bought six. A roll of duck tape was $5.97. A small thing of acrylic silver paint for the knobs and the wood faucet for $2.99. I bought a plastic bowl with was about$5. Which because I'm horrible at math, came out to $27.92.  I had the drawers and the knobs and the wood. But the drawers if you bought them new would be $17.99. 
So, if you bought these things new, this set would cost $45.94 to make. Ugh. So, later, I remembered that the kitchen set  I had gotten for Goose was less than $50. So much for a cheap DIY.  For me, I made the kitchen for $27. But I found a few online pre-made for about $30. They were on sale, but still. Well, I had already sunk some cash into this project I was determined to finish it!!

With duck tape sheets and a roll of duck tape. Faucet unpainted, and bowl not glued in.

Faucet painted, more duck tape added, and changed out the bowl for one I already had. I had to screw in the faucet, because the glue wouldn't work. Neither would command strips. And the bowl even after gluing a thousand times, wouldn't stick either. I just left it. I mean, whatever. (sigh)

I had bought a kids play set of dishes for $10.99. So, the kids loved it. Absolutely. And in the end, well, that's the point.

In the playhouse. 

The absolutely adorable playhouse in the yard. Those cute plastic kids size adirondack chairs were $12.00 a piece at Lowes. 

The frozen table and chairs I had gotten a year ago for about $25.

So that's part of my plan to make-over the playhouse. The other part is re-painting the walls, since they got filthy and covered in mildew over the hot and occasionally wet summer. We left the windows open since It was so hot and forgot to close them. (yeesh) My hubbie power-washed the inside and out but still couldn't get off all the grime and mildew.

Oh yeah, I also have to fix that broken window. Plans plans plans. I sure do have a bunch.

Till next time, Rudy


Tuesday, March 6, 2012

Paint Chip Art-Pinterest

We've all established that I needed to paint a wall in my living room, behind the starburst mirror I made. But I could never decide on a color.

Well, I finally decided,  all of them.

My starburst wall with all the color behind it.


I found some great stuff on Pinterest as inspiration.


I had wanted to avoid painting the wall altogether when I decided I didn't like any of my ideas that I mentioned earlier in my blog. So, I dragged myself to Home Depot, took as many paint chips as I could. I felt strange as though I shouldn't, even though they are free. One of the paint guys came up to me and showed me that they had a little folder with 1/2"x1/2 swatches. And I told him I needed something bigger. I then asked if that was alright. He said that was what they were there for. So I felt better taking so many. I left many as well so it's not that they were out of paint chips after I left.

The paint swatches I took were from Behr. I loved them because they were 3" x7" and that's just perfect. The bigger the swatches the more color on my wall.

I brought them all home and tried to keep them in the same order they were in on the paint swatch wall.

Laying out the order

final panel of greys

After I figured out the size of my wall panel I cut out some contact paper and peeled it back one line of swatches at a time and stuck them on. I then followed the same procedure with the rest of the colors . I had originally thought I would use all the colors, red, oranges blue, green, the whole rainbow. But I began to have more swatches than I could carry so I kept it in the cool spectrum.


I had originally thought to put it vertically behind the starburst, but changed my mind after laying it out on the floor.

After that, I just pinned up the contact paper/paint chip panels on the wall with thumb tacks.


My only regret is that I didn't center it evenly on the wall.  It's off  by a few inches, but, I just don't feel like taking it down yet.


I'm pretty pleased with it. My husband even told me that it "looked cool". Of course, from him he could be pulling my leg.

Ruth

Wednesday, December 21, 2011

Pinterest

I have been stalking Pinterest for awhile now and trying to do the neat crafty artsy stuff that is often featured.

Some are great and work out perfectly, some don't.

For the Christmas season I found some great wreaths that I wanted to make. I don't have any wreaths, I don't have much in the way of Christmas decorations so this year I wanted to remedy that.

Here was my inspiration:


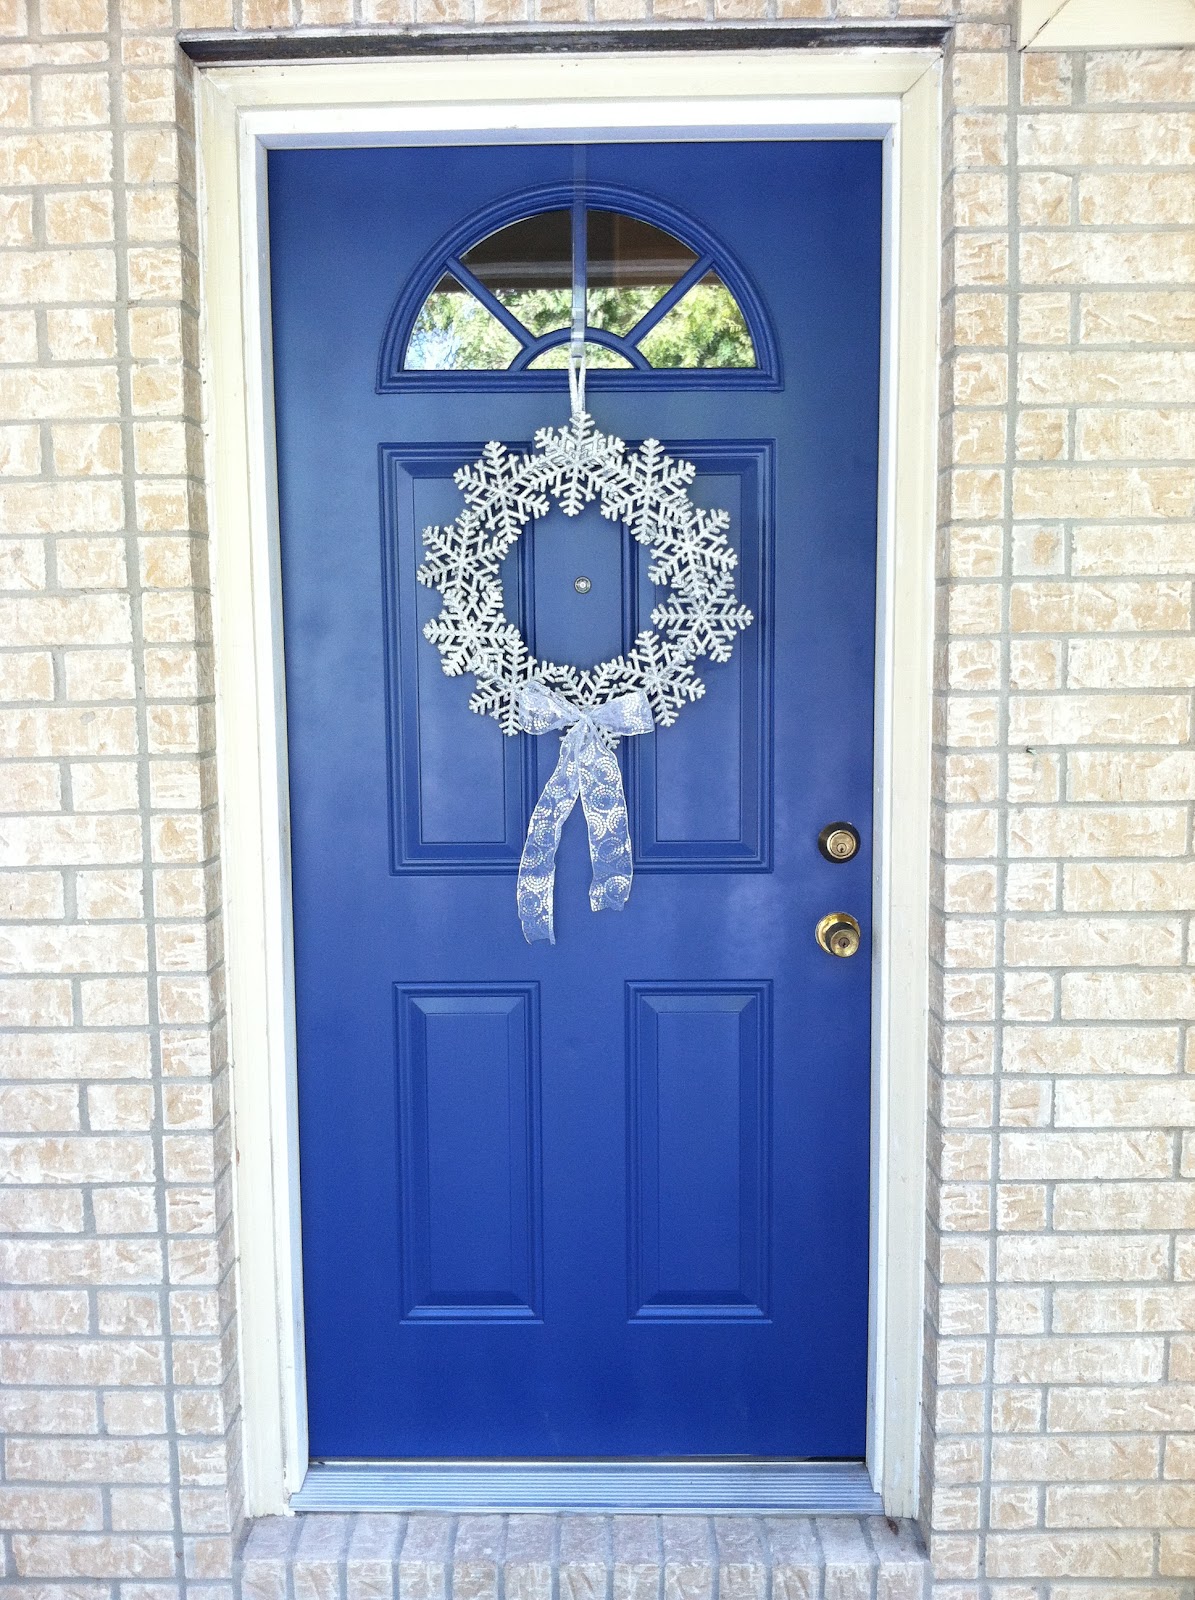
I thought it was beautiful, especially against my blue door.

Here's mine.


All it took were some silver glitter snowflakes from Big Lots, an embroidery hoop, some silver paint, a ribbon, and a lot of hot glue.  I'm really pleased with the way it turned out.

Here's my other try at a Pinterest inspired Wreath.

I thought it was perfect because 1. I love candy canes, and 2. it's unique.

I found out that it was much harder than I thought.


I used the Bob's candy-canes in cherry. Which are my most favorite in all the candy canes and I have tried many. I had tried to avoid using hot glue since it would melt the candy and make it inedible, but alas, it was the only thing that would hold. I also used way too many ribbons in way too many colors. I changed the design too much and it just didn't look right after I finished.

In the immortal words of The Bloggess...."Meh, they're not ALL winners."

I'm not convinced that this candy cane wreath can't be done, I just need to re-think it some more.

Until then,
Ruth

Saturday, July 30, 2011

INterwebs is broke

My internet is broken. I am trying to get a new internet provider to well, provide internet since Virgin mobile Broadband decided to stop working after 6 months. So, I'm presently at another person's house, using their wifi to blog. I'm also supposed to be working on my finals and final assignments. But I thought I'd give a reason as to why I've been gone.

In the meantime, you should check out Pinterest. It is my new addiction.

http://pinterest.com/

It's like my blog but so much easier to update. It's just a mobile bulletin board that you can use, and look at other's boards as well. I love it soooo much. I never really got on the whole angry birds, youtube, app bandwagon after getting an iphone. But Pinterest, this I really enjoy.

Ruth