Showing posts with label baby stuff. Show all posts

Sunday, February 18, 2018

Rainbow Baby Quilt

So I received a couple comments looking for the quilt pattern that I made for the rainbow quilt I made a year back.


My original pattern


I'm working on creating a downloadable pattern with instructions for it.

Unfortunately, my illustrator CS5 (I am too cheap to rent creative cloud every month) is crashing every-time I try to us my font palettes.

In the meantime while I figure this out....here's what I'm working on..


If anyone knows a work around in illustrator CS5 that would stop my program from crashing it would be much appreciated.

Thanks,
Ruth

Monday, November 17, 2014

projects for November

I've had a few projects I've accomplished this November.

I created a design wall with foam board insulation, batting and flannel. No more crawling around on the floor laying out my quilt pieces. I have been planning on this for years now. But there was never any space on any walls.


Design wall and mini minky blanket
It's not permanent, it's lightweight so I'll be moving it around whenever I get my office/studio in a better layout. 

In the meantime it sports some quilt pieces, and some of my kids artwork. Just wrap the foam board ($15.00 a piece of 4'x8'x3/4") with some quilt batting and cover that with flannel. The quilt pieces stick onto the flannel with no pinning.  The only issue I had with making this is that using duct-tape doesn't work that well, It just pulls off the paper backing and falls off the batting and flannel. The staple gun works slightly better but they pull out of the foam core pretty easily. 

I also recovered my hand me down office chair. It had holes in the upholstery, and the stuffing was starting to show through. So I found some fabric from my stash and with my handy staple gun re-covered it. It was left-over plaid from when I made a kilt. It was a fairly easy project till I had to re-upholster the back of the lumbar support. I ended up sewing it onto the chair which in hindsight was a lot of work when I could have just glued it on. (I didn't want to have visible staples on the back)

After.

I don't have a before photo because I'm just not that good a blogger. Just imagine it looking crappier and red. That's the before. 


I finished up a double sided minky blanket for my niece for x-mas. Minky sure feels nice but like all high pile fabrics it's heavy and unruly to sew. When I shook out the fabric to lay it out on the floor and cut it to the right dimensions, a huge puff of minky hairs just exploded all over my living room floor. My daughter didn't mind, she just wrapped herself up in the fabric and named it her "baba".


 When I took it away from her to sew she cried big fat tears and beat her tiny fist agains my studio door. The fit she threw at Hobby Lobby when I bought it was pretty epic as well. Lets just say that after it was cut from the bolt of fabric she draped herself in it and gave anyone who tried to touch it dirty looks. Since I had some leftover minky fabric I made her a tiny lopsided blanket. It's up there in the picture of the design wall. Just scroll up guys I'm not posting the same picture again. Gosh....

I didn't take a picture of the huge minky all laid out in it's glory because honestly draping the blanket on cute stuff and taking thousands of badly lit pictures was just too hard today. 

There you go, it's all finished and packaged up.


That's my other desk chair. It's the one in-front of my computer. It's made from bungee cords and is super bouncy!!! I love it too. 

Well, I've gotta go pick up the kids. Sorry for the typo's, lately my fingers are too frozen to type correctly. I should have kept those fingerless usb heated gloves. Oh well.

Rudy


Saturday, February 1, 2014

The happy Whale


I had been working for the last few weeks on a baby quilt, and stuffed animal for my very good friend Brooke.

She is having a boy and was planning on decorating with whales.

A little illustration I did for this project.


I had to make something.

I had found this on Pinterest, and went from there:

It's an absolutely adorable tutorial on making a little whale toy from old jeans.

I had to do it. It was posted on a Chinese language website. I couldn't find the original source so I cant credit the person responsible. I just had to go from pictures, since there weren't any directions after I translated the website.

I cut up a pair of old jeans and came up with this. (Actually my second attempt after first making a rough draft)

Notice anything?

I was not trying to make an Orca.

It took me awhile to figure out why it didn't look right. And then I noticed. I switched the fabrics and  made the whale upside down.  The shapes should have been reversed, so that the belly of the whale curved upward, and the top of his head ended higher up. I tried to reconcile myself with my not quite orca (missing the correct dorsal find and spot) but failed and tried again. At this point I had no more left over denim and had to make it out of leftover navy cotton and some printed denim flannel.

Third attempt


It still didn't turn out as whale-ish looking to my eye, the nose came out too rounded. But I was drawing my own pattern and sometimes, the first pattern needs a bunch of adjustments.  Still, I'm hoping the little boy will like it, despite it's imperfections.

In-between the 1st stuffed whale and the second I worked on the baby quilt.

Working on layout on my kitchen table.

Playing around with the appliqué pattern


I was really excited to use the majority of fabrics from my stash.

And I was excited to use reverse appliqué technique.

It turned out pretty well until the reverse appliqué started to fray.....badly.

The wonky panels were intended. I was trying to evoke
waves moving. 

I disliked it so much I had to re-appliqué it with a satin stitch several times. And still it turned out messy looking. 

I thought I would just go with it anyway and began to quilt it to the batting and backing.

And hated it immediately. I tried free motion quilting on my basic Bernina and it just looked messy. So after much pulling out of stitches with my trusty old seam ripper, I gave up and decided to start over.

I had to get new fabrics since I had used all the fabrics that would work in the first one and began again.

For some reason the colors flare badly in this picture. I've color corrected
in photoshop so I'm gonna just chalk it up to my bad photography
and my bad lighting.

This was the fabric I found at the Quilt Haus.


This tag is an amazing find that I forgot I had stashed away in my sewing stuff,
I haven't used these since I found them 13 years ago. 

Hand quilted waves, and at the top white panel, clouds.
(this is the correct color of medium blue)

I had gotten so irritated by the machine quilting and the bunching and the little tucks that I decided to so something I'd never done before. Hand Quilting.

I had a lot of trouble starting the appliqué, I always forget the blanket appliqué stitch, and then beginning quilting by hand with no callous' on my fingers was pretty tough. I went thru four thimbles and still couldn't manage to quilt with any of them. I finally gave up on thimbles and went back to doubled band-aids on the pad of my middle finger.


I enjoyed the hand quilting, and it gave the quilt a softer and more fluffy appearance than machine quilting. I also managed to mitre the corners of my binding, something that has eluded me for a decade. Luckily, with Pinterest, I found an "easy" method that even working with my non-bias sashing. (Bias tape is too much of a hassle so I usually use straight grain sashing. (I know, I think bias tape is a hassle and I hand quilted this quilt, I'm a study in contrast)

Here's the little package all wrapped up.


Here are some of the links I used for the tutorials on binding with a mitred corner, hand-quilting, and reverse appliqué.


With reverse appliqué I would recommend using a knit or a felt so the edges don't fray.


Wednesday, November 6, 2013

Nightgowns for little girls


My little goose is a wiggler. She can somehow manage to thwart Sarge's and my attempts to dress her, diaper her, keep her in one place for more than a second.

Most days and nights she's in nothing but a diaper and a t-shirt because she kicks and squirms and pajamas with legs are too demanding to put on her. She can take off leggings or pants like some sort of un-dressing Houdini.

I had tried putting her in dresses but she got her knees caught up in them when she tried to crawl. Well, guess what she's doing now....walking. Which means a whole new world of clothing and pajamas are opening up to us....or so I thought.

Almost everything for little 11 month old girls is two piece outfits, usually a tunic with leggings, or a shirt with leggings. The pajamas all have zip up or snap up legs, and again the 2 piece pajamas are all legging based. It requires two people to put her in pants or leggings. And most of the time after the diaper changing acrobatics, we just want the crying and squirming to stop.

I have pictures of myself younger than her wearing nightgowns. I guess that went out of fashion for babies. Maybe because they weren't fire retardant, or because kids are walking later. Who knows.

Me in an adorable nightgown with my baby doll.


 I found a bunch of flannel, and disney themed tricot nightgowns, but they all start at 24months or 2 T. And I tried to find 2T in an actual store, but they were just not there. I found them online but I cant try them on her that way now can I?

It's colder now, so I want to dress her in something, diapers only wont cut it, and she pulls off blankets when she sleeps.

What to do?

Sew something, obviously.

I went to Target, Belk, and Walmart. No baby nightgowns. So I found a cute long sleeve shirts at Kohls, and then went to Hobby Lobby to find some knit fabric. They had about 6 bolts of knits. Which is a shamefully paltry selection. They have 65 bolts of fleece though, so go figure. I'm guessing very few home sewers sew on knits. I couldn't find any colors that I really liked so I had some prints, and a pink knit. (which I'm not fond of)

Here's how I went about this little sewing adventure.
Buy a shirt. I went a little bit bigger than her size (12M ) and got a 18 M.
It's a waffle knit from Jumping Bean brand, in Kohls. It's a baby doll fit
which I thought would suit the idea.

Try it on your baby and measure where  the hem falls
and where you want it to be. I wanted an extra 4 inches.
(give baby something to play with or else
well, she's so wiggly)


Cut some knit fabric in double the measurement
that you needed to extend the shirt

I needed it to fall 4" lower than the hem, so I cut 9 inches
8 inches is doubled, and I added 1/2" seam allowances
Fold it over, (the folded edge will be your new hem.)

At this point I gathered my fabric at the cut edge. 
Measure agains the hem of your shirt, cut to fit the hem
measurement, and sew the sides. Pin the panel on the hem making
sure there are no gaps.
Sew with a serger, or with a zig zag or another stitch
which suits knits,
*take the pins out of your fabric BEFORE
it goes thru the serger*

When I finished the first gown I didn't like the look of it, so I took the extension off, and cut more knit, and gathered it at the unfinished ends. I like that better and then sewed the ruffled knit panel onto the hem. 
* depending on your gathers you may need double the length you had before* 

I used a zig zag the second time to attach it to the hem.

I did a few more. The last two I added ruffled woven fabrics, since
I couldn't find colors I  liked in knits to match them.

Dress your adorable baby in her nightgown/dress

Totally works as a dress too!!

So here you are, a tutorial on how to make a cute dress/nightgown from a shirt.

(All credit for the design goes to my Mom, Patti, who did this same style for me in the '80's. I have pictures of me and my 6 sisters in dresses she made from t-shirts that she added skirt onto.)

,Ruth

Tuesday, October 22, 2013

11 months and look who is walking


11 months

She took two steps in September. But this week, or rather the day she turned eleven months old, she started walking in earnest. She's still crawling, but it wont be long until she's running.

She pretty much already "run's the show" if you know what I mean. She likes kissing, and biting. Usually at  the same time and it's a bit painful. She has less issues with solid food (the puking thing) so that's a big plus. 
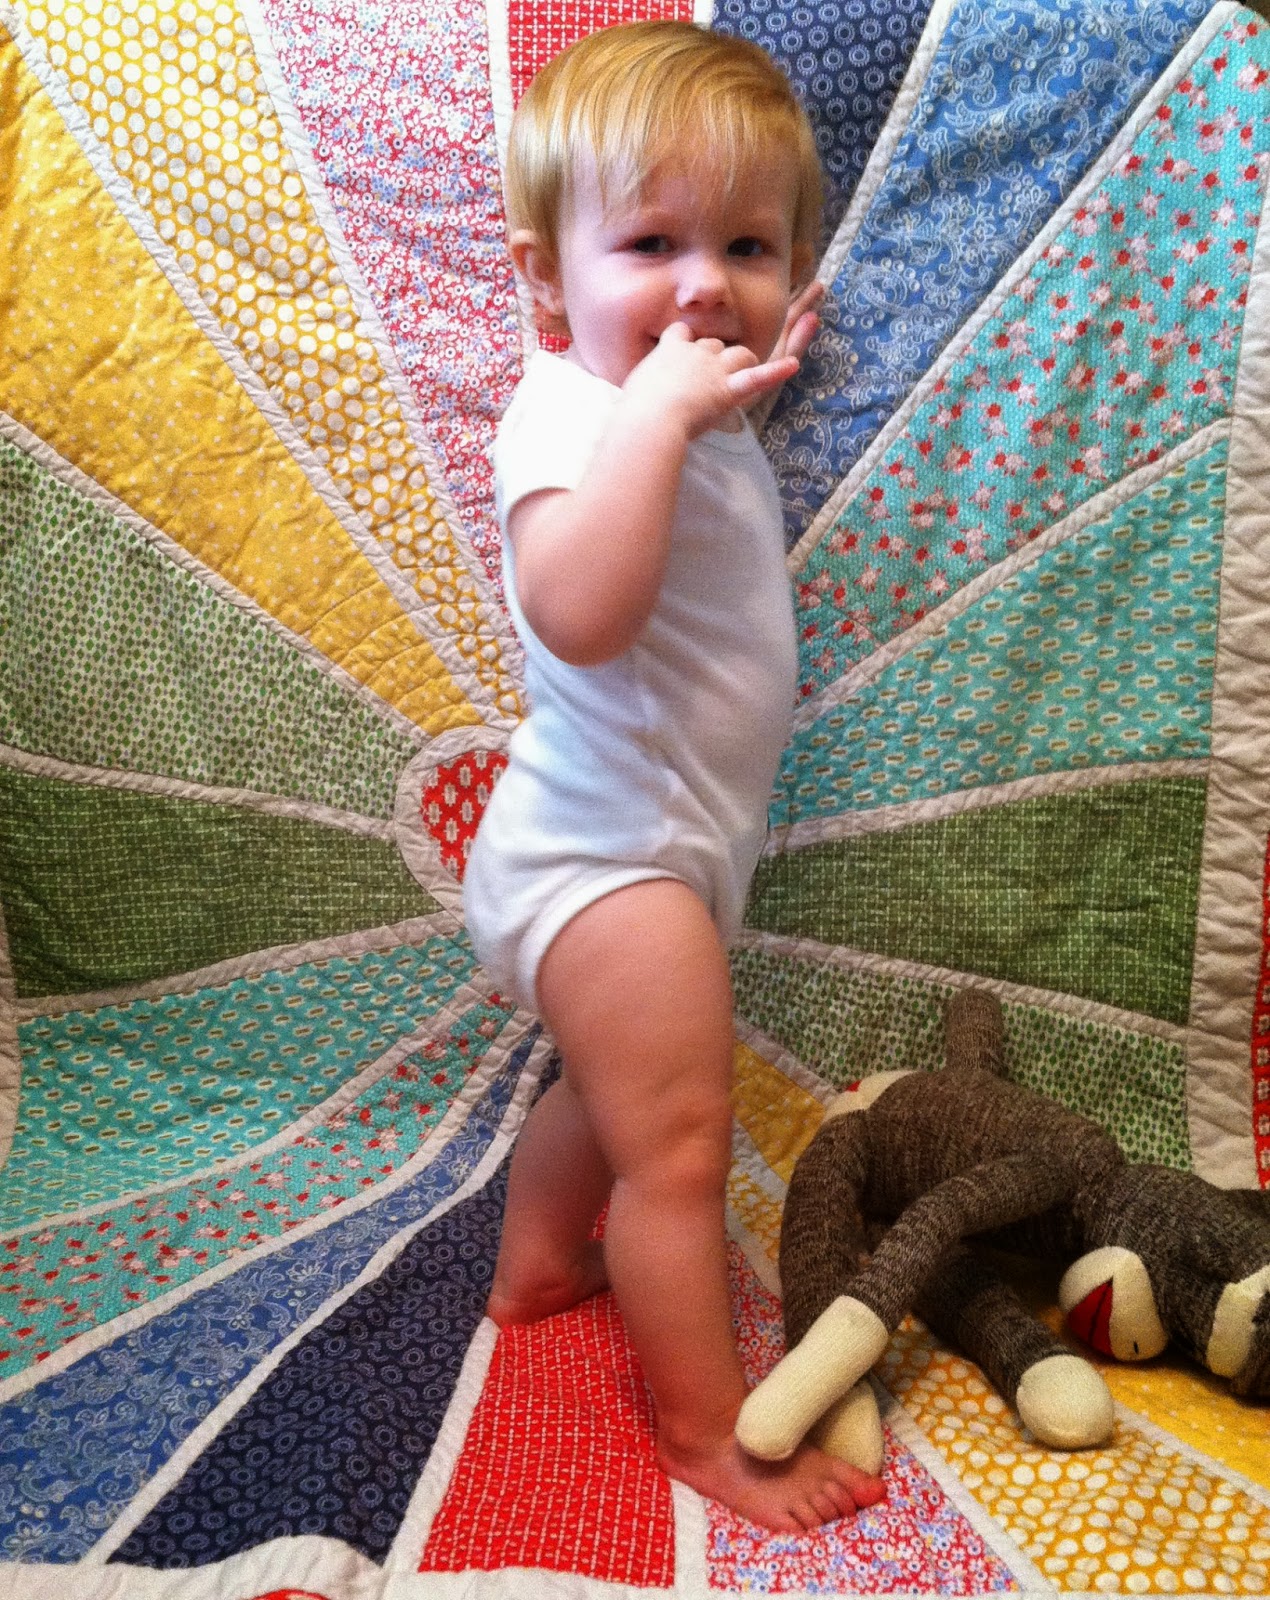
Oh my goodness she's found some attitude as well. If you don't do what she wants, screaming will ensue.

But overall, she's just so wonderfully happy. She smiles, she grins, she squeals with delight and makes everyone fall in love with her. She's just charming and lovely, just like her older brother at that age. 

Smiles, smiles and more smiles.....that's my little girl. 

Her big brother is 4 years old and is as imaginative  and affectionate as ever.

He likes helping me, when I'd rather not have help. And will refuse to help me when I truly want him too. 

Oh kids.  


He's trying so hard to keep her still....but she's just too
wiggly.

Great kids, great times.

Rudy


Sunday, January 20, 2013

embroidery

Lately I haven't had a lot of time for projects, mine or others, I've been working on being a Mom to a lovely 2 month old daughter and a 3 year old son, as well as being a hopefully adequate Wife.
But in-between all that, I finished an embroidery for my niece, who will be born in about a month or so.

It's an E, for Evelyn.