Sunday, January 22, 2012

Starburst Mirror-Tutorial


So, its been awhile. I have procrastinated getting back to blogging. But I hope I will be better in the future.

During the holidays I began a project. A project of decorating my house. I moved my furniture from storage, put pictures on the wall, and generally made my home my own. I had been living on borrowed furniture for almost two years because we had assumed living here would be temporary. It wasn't. So we moved our furniture in and I began a long awaited and very happy process of making my house a home.

One of my projects was hanging up decorations. Well, I had an empty wall for awhile above my couch. It was a lonely wall. I brainstormed and thought and searched and decided on a starburst mirror. But I wasn't in love with the size, styles and prices of the ones available. If they were perfect they were too expensive, if  I could afford them the size or color wasn't right.

I love Pinterest so I found many to look at. Quite a few people made their own. So, here's my inspiration and my subsequent tutorial on how to make a starburst mirror.
Lovely but not quite right.

This I found online at Target.com. I liked it but it was only a clock not a mirror.

I love this one but it's gold and I wanted silver.
So I got my materials together and began this crazy project.

12" plastic plate (hobby lobby $1.99)
100 (12") wooden dowels ($2.99 for a set of 25)
Glue gun (already had it)
silver spray paint (already had it)
Hang Tite Glue for slick surfaces ($3.00)
Picture hanging hooks
Garden Shears (already had it)
8" mirror ($3.99 on sale at Hobby Lobby)

First I divided all the dowels evenly and started cutting them into three sizes. I cut 1/3 in half (six inches), and the other 1/3 of the dowels I cut at 9". The others I left at 12".  Then I got my glue gun and started to glue.

I glued them in a pattern of 12", 9", 6", 9", 12", 9", 6" and so forth.

Yay!!! 
Then I spray painted the whole thing.
After spray-painting it I glued some hooks onto the back.
I also glued a bit of felt on to the sticks to stabilize them more and to make sure they didn't scratch my wall. I put some framing wire between the to hooks and voila!!! Ready to glue on my mirror.

Unfortunately, I didn't scrape off my spray-paint on the plate, or let the glue set for 2 minutes before putting on the mirror. Needless to say the glue never set and the mirror fell off. So I scraped off the spray paint under the mirror, and re-applied the glue, let it sit for 2 minutes and then squished them together. I set some weights on the mirror and let it cure for 24 hours and this time it held like a champ.

Here's my finished star burst mirror hanging out on my formerly naked wall.
I'm pleased as punch.

Here's my sexy instagram photo.

All in all it was a great project, not too hard, and in my opinion really worth it. And for those of you who might add that the starburst mirror is so over as a trend, you are correct. It is. But I don't care. I'll never be fashionable at the correct time. Go figure.

Ruth


Wednesday, December 21, 2011

Pinterest

I have been stalking Pinterest for awhile now and trying to do the neat crafty artsy stuff that is often featured.

Some are great and work out perfectly, some don't.

For the Christmas season I found some great wreaths that I wanted to make. I don't have any wreaths, I don't have much in the way of Christmas decorations so this year I wanted to remedy that.

Here was my inspiration:


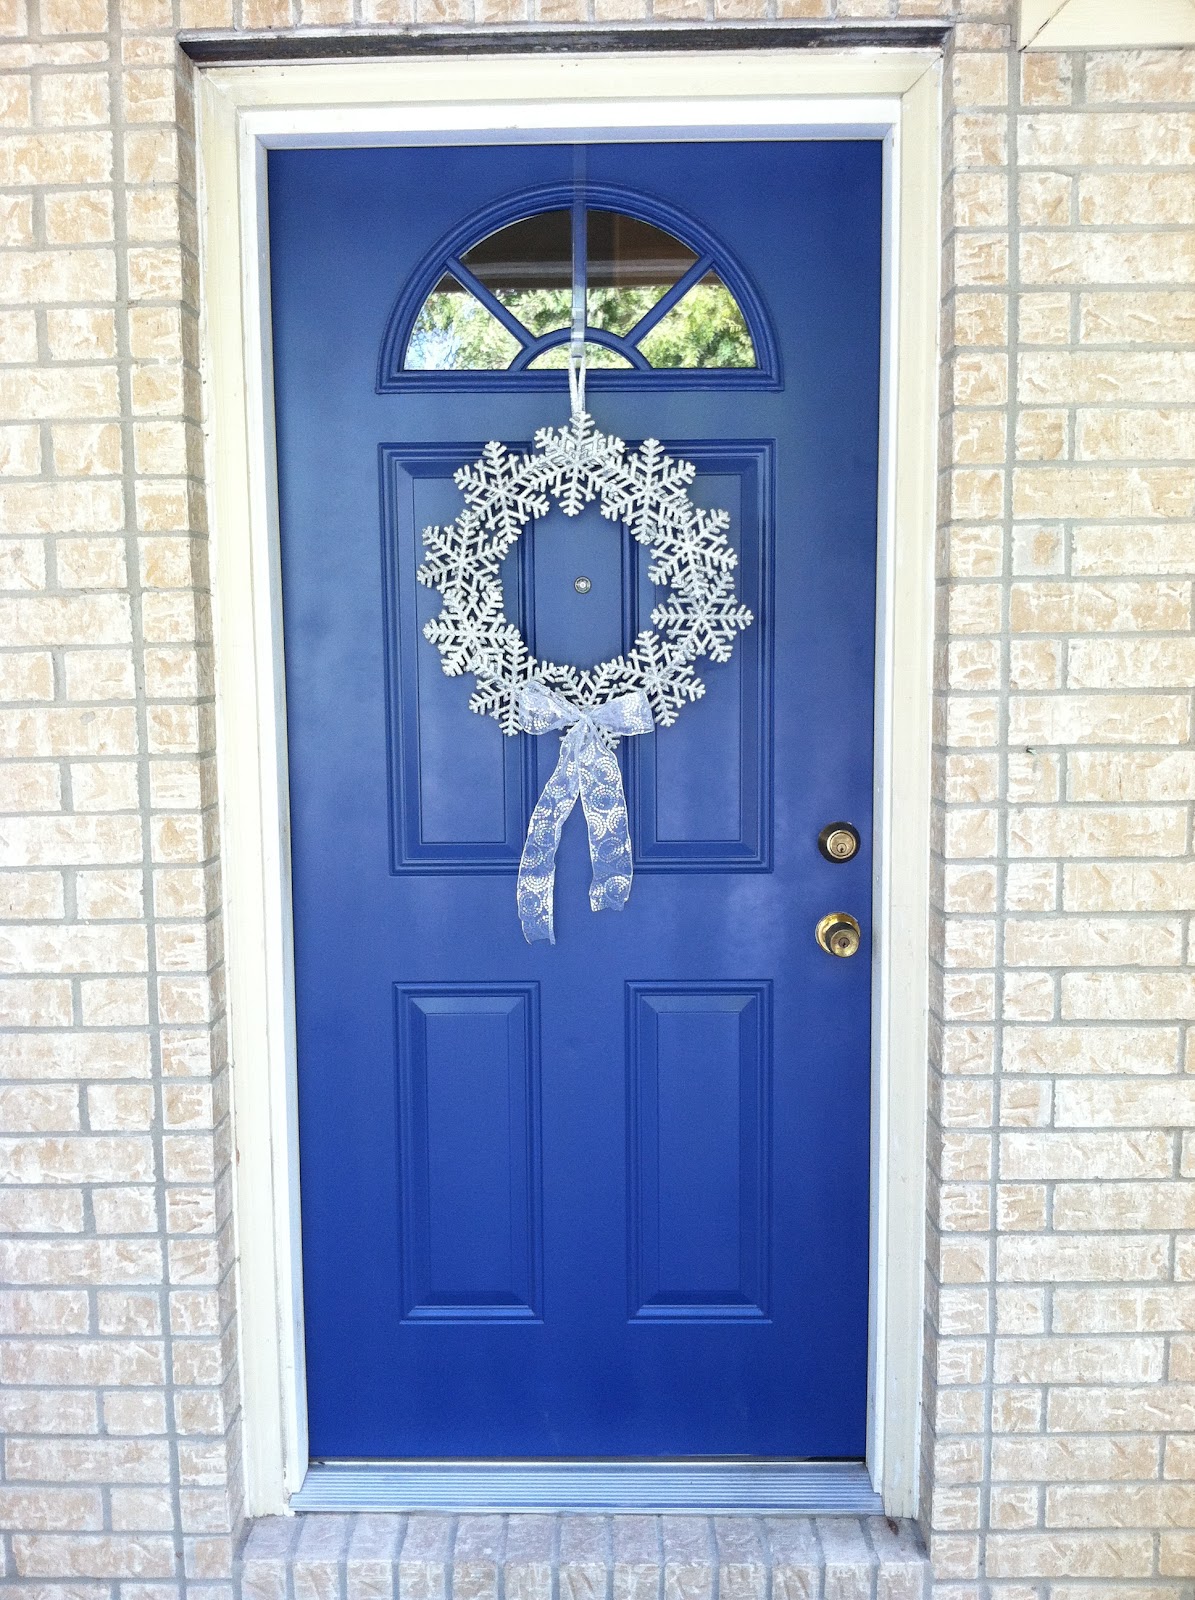
I thought it was beautiful, especially against my blue door.

Here's mine.


All it took were some silver glitter snowflakes from Big Lots, an embroidery hoop, some silver paint, a ribbon, and a lot of hot glue.  I'm really pleased with the way it turned out.

Here's my other try at a Pinterest inspired Wreath.

I thought it was perfect because 1. I love candy canes, and 2. it's unique.

I found out that it was much harder than I thought.


I used the Bob's candy-canes in cherry. Which are my most favorite in all the candy canes and I have tried many. I had tried to avoid using hot glue since it would melt the candy and make it inedible, but alas, it was the only thing that would hold. I also used way too many ribbons in way too many colors. I changed the design too much and it just didn't look right after I finished.

In the immortal words of The Bloggess...."Meh, they're not ALL winners."

I'm not convinced that this candy cane wreath can't be done, I just need to re-think it some more.

Until then,
Ruth

Thursday, November 24, 2011

Muppets are AWESOME-Artists of whom I am extremely jealous

I was looking at Drawn today and they featured this super duper wonderful blog featuring a muppet alphabet.

http://muppabet.tumblr.com/

Yay!!!


All above are property of David Vordtriede

Friday, November 18, 2011

Lullaby Book-Toora Loora update

So, I've been embarking on this adventure of re-working some lullaby illustrations that I just wasn't happy with. The last one I had left was "Toora Loora."

Here's my most recent one. I changed themes completely. I originally had a landscape of Killarney, where the song mentions, but it seems landscapes aren't always my forte so I chose to do the Snowdrop the unofficial flower of Ireland.

Illustration by Ruth Krueger


Here's my first one.

All in all I'm very pleased. Now, to see who could print these out for VERY cheap.

Ruth

Wednesday, November 16, 2011

Lullaby Book-Rock-a-bye Update

I didn't like my first version of Rock-a-bye baby. And yesterday, all those pictures of cats in cravats got me thinking. Hmn, why not a cat?

So here is my updated version of Rock-a-bye baby. It's modeled on my cat Mr. Moostache.


Here's the first one I did.


I like my most recent one better. Now, next up is the revamp of Toora Loora Loora and I can finally get his printed in book form.

Ruth

ps. Here's the pic of Mr. Moo that I used.

Mr. Moo


Tuesday, November 15, 2011

Artists and Illustrators of whom I am extremely jealous-Heather Mattoon

Today when I was over looking at Nicole's Balchs blog "Makingitlovely.com" she posted this amazing collection of super neat paintings by Heather Mattoon...

Property of Heather Mattoon

All I can say is, Dang, those are some dapper looking felines. If you peruse through her Etsy account, she has some really sweet and fluffy paintings of birds. I love those too.

Good Job Heather.

What I want to know is, how did you get them to sit still in those outfits for so long? You are truly the cat whisperer Heather.

Friday, November 11, 2011

Lullaby Book-Brahams Lullaby Update

I have been sitting on the Lullaby book project for awhile. I just wasn't happy with some of the illustrations. I finally got back into it again and re-did Braham's Lullaby.

Here's the new illustration.

Brahams Lullaby Illustration by Ruth Krueger

Here was the first one I finished.


I didn't like that one either so I did it again.

Even after adding owls I still wasn't happy. They look kind've cross eyed and strange. I like the third one better definitely.

Well, hope you like it. By the way, I made up these words. The only ones I could find were in German so I made these up on my own and decided to stick with them. There the ones  I sing to my son.

Ruth