Showing posts with label baby quilts. Show all posts

Sunday, February 18, 2018

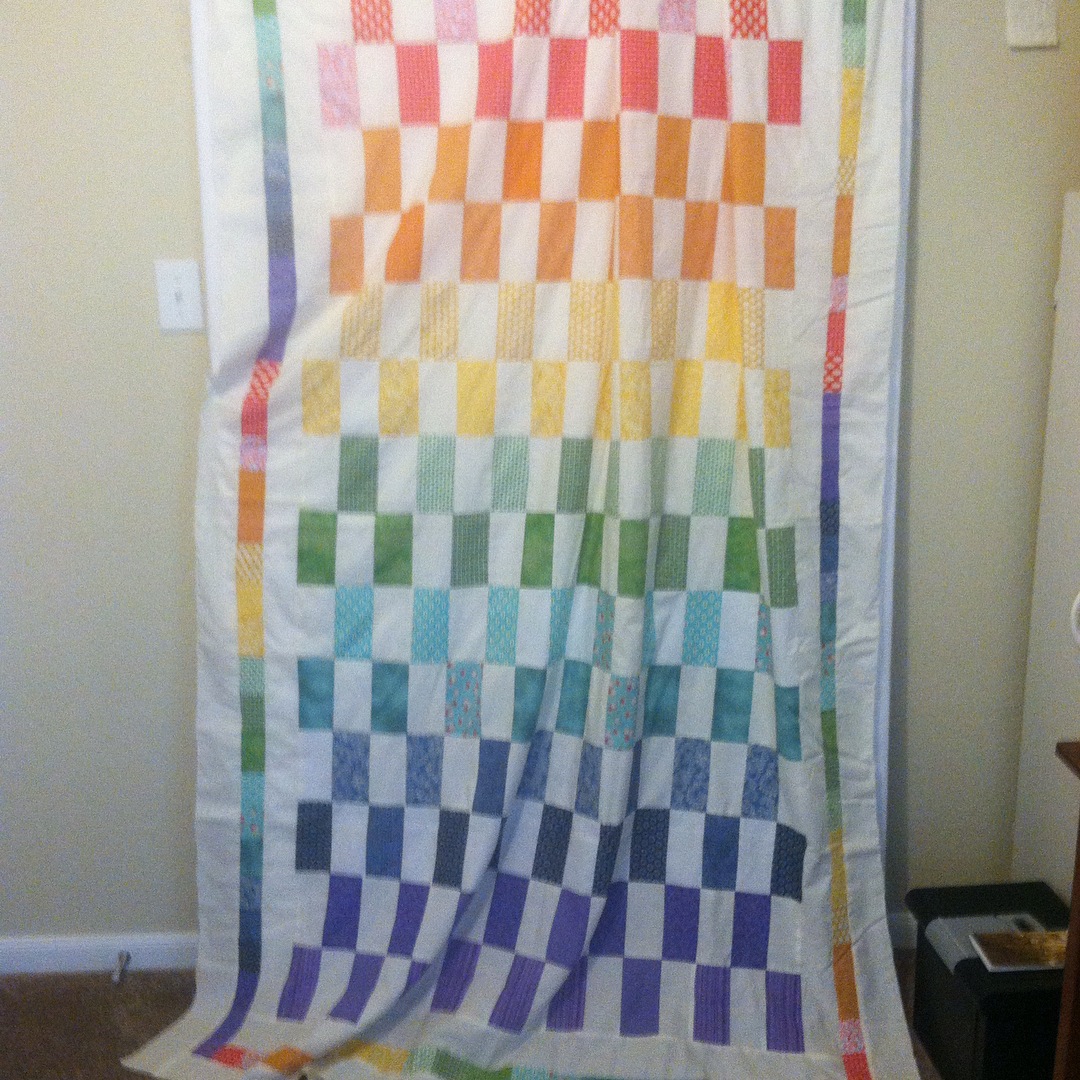
Rainbow Baby Quilt

So I received a couple comments looking for the quilt pattern that I made for the rainbow quilt I made a year back.


My original pattern


I'm working on creating a downloadable pattern with instructions for it.

Unfortunately, my illustrator CS5 (I am too cheap to rent creative cloud every month) is crashing every-time I try to us my font palettes.

In the meantime while I figure this out....here's what I'm working on..


If anyone knows a work around in illustrator CS5 that would stop my program from crashing it would be much appreciated.

Thanks,
Ruth

Saturday, March 4, 2017

Rainbows and Hearts


A friend recently asked me to make a baby quilt for a friend of hers.
The theme was rainbows. Well, I have experience making rainbow quilts. That's about all I've done the past few years.

For Example:

Rainbow Quilt for Goose 2011


Rainbow Quilt 2011
The Rainbow Quilt for Goose in 2011 was the pattern I used for Rainbow 2017.

Quilt for E, 2012

Quilt for Big Girl Goose 2014

Big Brother Quilt 2011

Final Quilt. I revised the pattern, turning it into a perfect square, rather than the original rectangle. I also removed the sashes and changed the color pattern.

Pieced backing, I like pieced backings. They feel like two quilts in one. Plus, for a baby quilt,
well, they WILL get puked on. So more pattern to hide stains is a must.

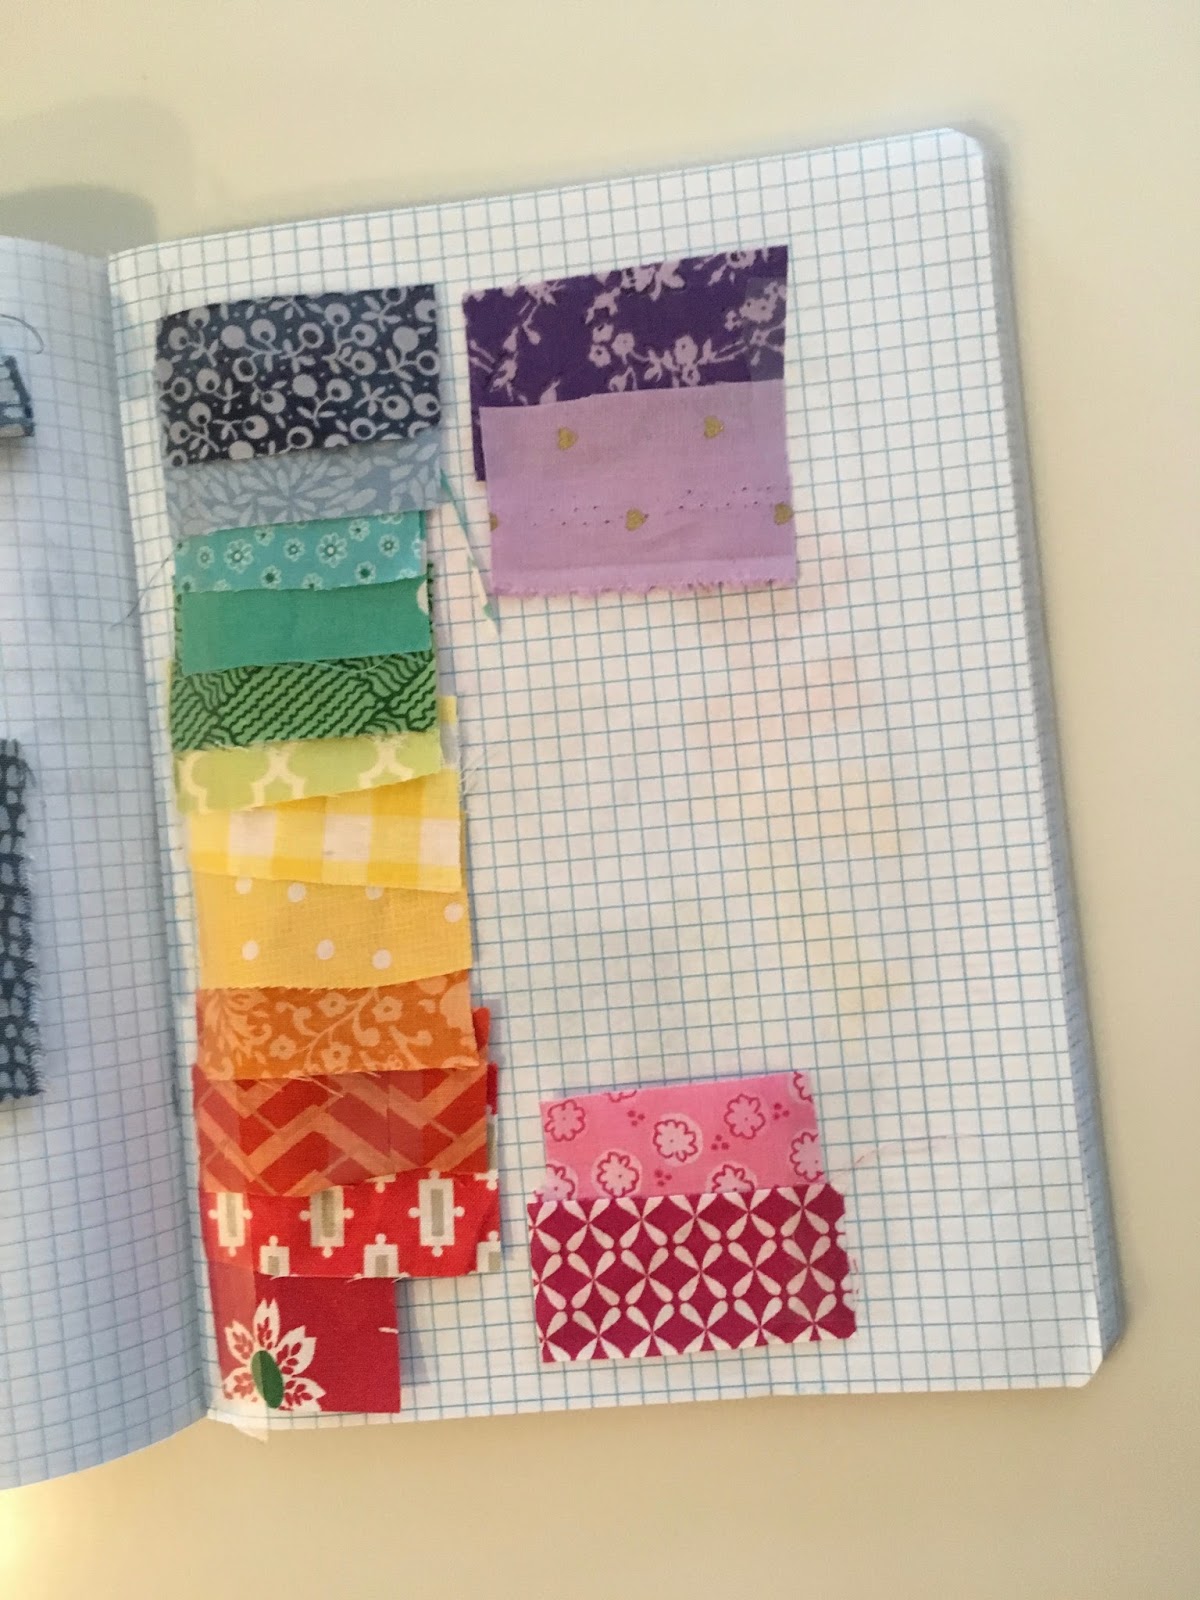
Brain storming in my sketch book.

Final Colors

Final colors and pattern. Note, it changed from here to square.


Cutting and piecing

Four blocks pieced. There was so much bias edging
that I used knit stay tape. That way much less stretching
during sewing.

Fun stuff you guys. Wish I had this in
college. 

I thought a pieced heart would be cute.
But I'm glad I didn't do it. 

Better

Best
So close you guys

Just a little appliqué


Piecing the back. I didn't have enough fabric in a pattern
for the backing, so a pieced backing was the way to go.
Plus, this is a baby quilt, and babies puke.  Several patterns
can disguise stains.


Stretching the quilt before safety-pin basting

One thing I forgot, this quilt was mostly sewn
on bias. So it stretched a lot. 

When started to quilt, well, it would pucker a lot.


I re-sewed my appliqué about four times.

Because of the puckering that happened with my
sewing, (I used a high loft batting to make it super squishy)
I had to do some re-sewing to remove a lot of loft
from the heart circle. Which led to some weird stretching.

The backing. 

This was a fun project. I'm thinking I might make a PDF pattern available on my Etsy. So if someone wanted to make a rainbow quilt, they could.

Till next project.

,Ruth


Friday, July 31, 2015

Well, it's quilting time.

It's been a long drought of new posts and such. That's completely my fault. I was in a very long and dusty creative block. Then, my sister had her baby. And it was QUILTIN' TIME! Thank you dear sweet Sullivan, you helped me out of my slump.

Here's some of the work I did that helped me back into the sewing creative groove.

These were leftover fabrics from another project I had done years earlier.

Another zig zag pattern? Yes I think so.

I made this design wall out of a 8'x4' piece of wall insulation foam board.
Wrapped in a piece of batting and then flannel, I never have to get on the floor to lay
out a quilt again!! Genius. It just lays agains the all, and is super lightweight.
Final idea approved my myself and my sister, and my mom.

I pieced it together, and then just did a basic stitch in the ditch to quilt it on my machine. 
Note my children's artwork and notes adorn my design wall.
I can use straight pins in it as a bulletin board as well.
I always have those around.
The backing had a little piece work in it. I rarely have enough fabric for the backing, and I love pieced backs. It's like two quilts in one!

 My dear little niece, Sullivan.
Thanks to Tery Wiemers for the
embroidery machine help.

My sister Sully is a teacher at a local high school and she helped me to get this embroidered with her name and date of birth. Big Thanks to Terry Wiemers the fashion design and sewing teacher who let me use the embroidery machine and worked it for us.

Actually I must thank Sully, without her I wouldn't have done this at all. Like I said, I was in a creative slump. Sort of. My sister was having a baby in May and was planning on name her Sullivan. So my older sister the original Sullivan, Sully to all of us, insisted we do a project together for our new baby Sully.

Sully: "Ruthie, we need to do a project for baby Sully. And by us I mean, that we brainstorm a project, and that you do it for me."

Ruth: "That definitely sounds like one of our projects."

Now Sully, is and was an artist and art teacher, and Home Ec teacher. And this was apparent even when we were children. She taught me art, and how to make taffy, and how to make candles, how to silk paint, and read me stories, and created treasure hunts and musicals that are lovingly recorded on video for all of our combined amusement and horror. For birthday presents, she would give me "gifts" that were more like projects. Like blank paper and water colors, or gave me an assignment that I would sometimes finish. Once I became a full fledged member of the BFA club, (bachelor of fine arts) we would work on projects together. And by together I mean, she would start one and I would finish it. She has been one of the most ardent supporters of EVERYTHING I do. Well, especially quilts. So after much brainstorming of ideas for little Sully, we decided to do a quilt. Mostly I decided because Sully and I couldn't agree. Maybe this was her plan all along. Hmnn, she's a mastermind older sister right?

So thanks big Sully, and little Sully, and Gracie for conspiring to help me get some fun work done.

Thanks and thanks again.

Ruthie


Saturday, February 1, 2014

The happy Whale


I had been working for the last few weeks on a baby quilt, and stuffed animal for my very good friend Brooke.

She is having a boy and was planning on decorating with whales.

A little illustration I did for this project.


I had to make something.

I had found this on Pinterest, and went from there:

It's an absolutely adorable tutorial on making a little whale toy from old jeans.

I had to do it. It was posted on a Chinese language website. I couldn't find the original source so I cant credit the person responsible. I just had to go from pictures, since there weren't any directions after I translated the website.

I cut up a pair of old jeans and came up with this. (Actually my second attempt after first making a rough draft)

Notice anything?

I was not trying to make an Orca.

It took me awhile to figure out why it didn't look right. And then I noticed. I switched the fabrics and  made the whale upside down.  The shapes should have been reversed, so that the belly of the whale curved upward, and the top of his head ended higher up. I tried to reconcile myself with my not quite orca (missing the correct dorsal find and spot) but failed and tried again. At this point I had no more left over denim and had to make it out of leftover navy cotton and some printed denim flannel.

Third attempt


It still didn't turn out as whale-ish looking to my eye, the nose came out too rounded. But I was drawing my own pattern and sometimes, the first pattern needs a bunch of adjustments.  Still, I'm hoping the little boy will like it, despite it's imperfections.

In-between the 1st stuffed whale and the second I worked on the baby quilt.

Working on layout on my kitchen table.

Playing around with the appliqué pattern


I was really excited to use the majority of fabrics from my stash.

And I was excited to use reverse appliqué technique.

It turned out pretty well until the reverse appliqué started to fray.....badly.

The wonky panels were intended. I was trying to evoke
waves moving. 

I disliked it so much I had to re-appliqué it with a satin stitch several times. And still it turned out messy looking. 

I thought I would just go with it anyway and began to quilt it to the batting and backing.

And hated it immediately. I tried free motion quilting on my basic Bernina and it just looked messy. So after much pulling out of stitches with my trusty old seam ripper, I gave up and decided to start over.

I had to get new fabrics since I had used all the fabrics that would work in the first one and began again.

For some reason the colors flare badly in this picture. I've color corrected
in photoshop so I'm gonna just chalk it up to my bad photography
and my bad lighting.

This was the fabric I found at the Quilt Haus.


This tag is an amazing find that I forgot I had stashed away in my sewing stuff,
I haven't used these since I found them 13 years ago. 

Hand quilted waves, and at the top white panel, clouds.
(this is the correct color of medium blue)

I had gotten so irritated by the machine quilting and the bunching and the little tucks that I decided to so something I'd never done before. Hand Quilting.

I had a lot of trouble starting the appliqué, I always forget the blanket appliqué stitch, and then beginning quilting by hand with no callous' on my fingers was pretty tough. I went thru four thimbles and still couldn't manage to quilt with any of them. I finally gave up on thimbles and went back to doubled band-aids on the pad of my middle finger.


I enjoyed the hand quilting, and it gave the quilt a softer and more fluffy appearance than machine quilting. I also managed to mitre the corners of my binding, something that has eluded me for a decade. Luckily, with Pinterest, I found an "easy" method that even working with my non-bias sashing. (Bias tape is too much of a hassle so I usually use straight grain sashing. (I know, I think bias tape is a hassle and I hand quilted this quilt, I'm a study in contrast)

Here's the little package all wrapped up.


Here are some of the links I used for the tutorials on binding with a mitred corner, hand-quilting, and reverse appliqué.


With reverse appliqué I would recommend using a knit or a felt so the edges don't fray.